These homemade protein granola bars are made with peanut butter and honey, a mixture of oats, nuts and seeds and do not contain protein powder. These baked, crunchy bars are moderately sweet, easy to make and delicious!
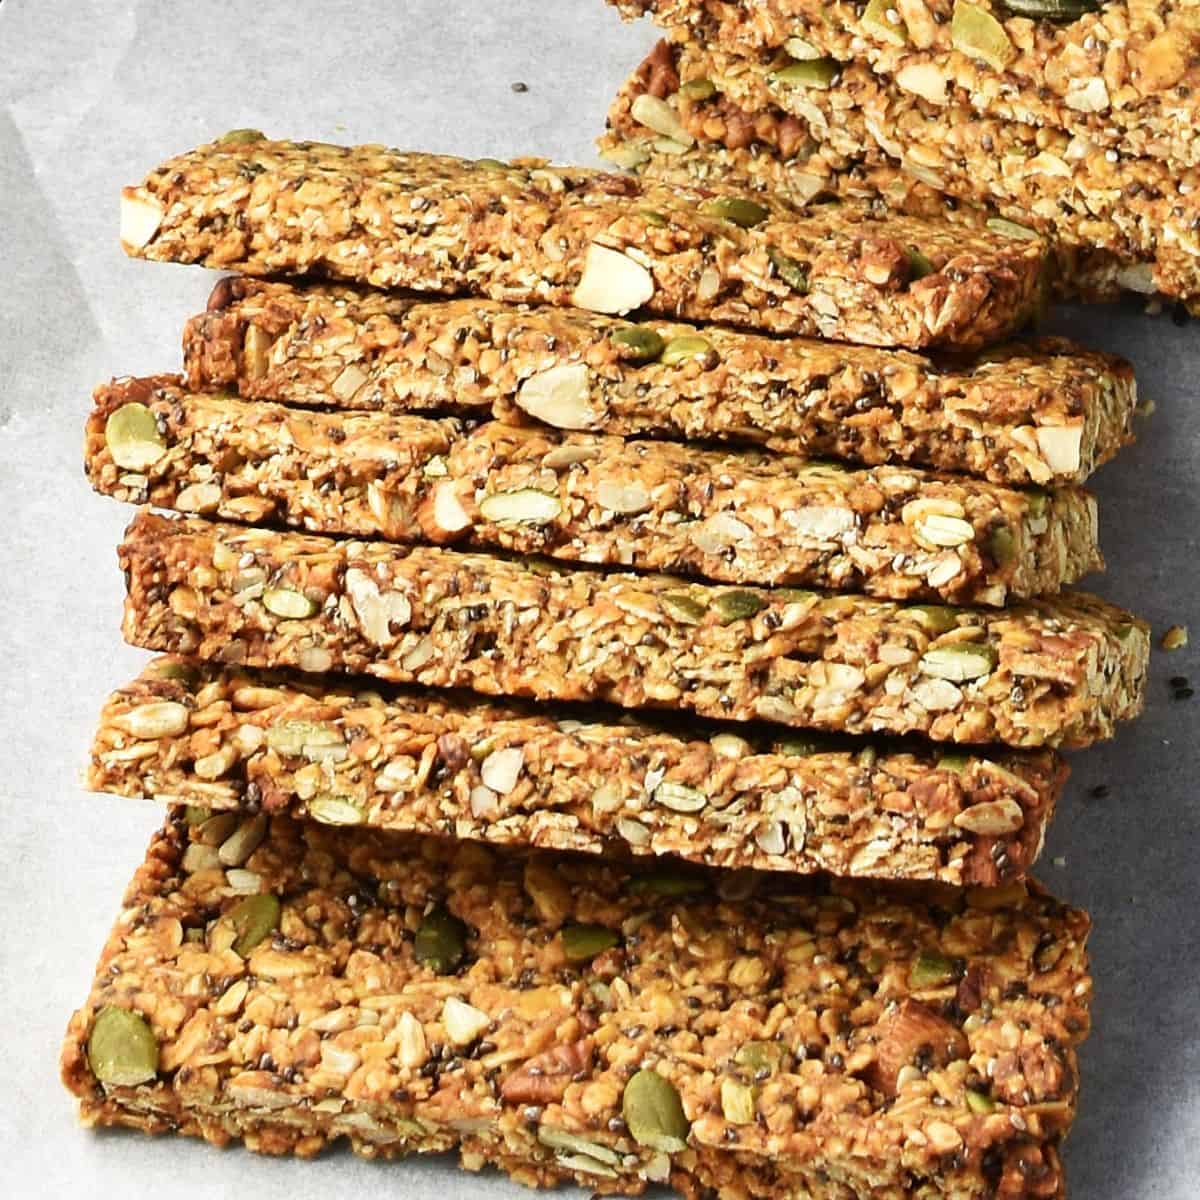
Homemade protein granola bars are a great alternative to granola, muesli or breakfast oat cookies. They are nutritious, easy to make and so much better than store bought! These granola protein bars are sweetened with honey, which, along with the peanut butter, also helps to bind them. The combination of seeds and nuts adds protein and fibre, which makes these bars satisfying and delicious, perfect for breakfast or as a snack.
Thanks to my easy preparation method these homemade baked granola protein bars hold their shape well. They are crispy, crunchy, stay fresh for several days and freeze well, too. See instructions below for details.
Homemade protein granola bars ingredients and substitutions

- Oats: I recommend using old-fashioned rolled oats (jumbo oats) rather than instant.
- Nuts: I used a combination of pecans and almonds (with skins) but you can use your favourite. You can, but don't need to chop them roughly before making the bars.
- Peanut butter: helps bind the mixture and adds flavour. I used smooth but crunchy natural peanut butter will work, too.
- Honey: this is the best 'glue' for your homemade granola bars. Maple syrup can be used instead, but your bars may be turn out crumbly (adding more maple syrup might help).
- Seeds: I used a combination of pumpkin, sunflower and chia seeds. You can change the proportions as long as you stick to the recommended quantities.
Equipment you'll need
- 9-inch/23cm baking pan and parchment paper
- Large mixing bowl and spoon
- Large sharp knife
- Food processor
Step-by-step recipe instructions
1. Combine ingredients: To a large mixing bowl add all the ingredients and stir until thoroughly mixed together.


2. Pulse mixture: Place about a third of this mixture in a food processor and pulse a few times (this will help bind the granola bar mixture). Return to the bowl and stir until thoroughly mixed in.


3. Add to pan: Lightly grease a 23cm/9inch baking pan and line with parchment paper (it should stick out on 2 opposite sides). Transfer the mixture to the pan and pack in tightly. Place in the freezer for 20 minutes (this will help cut the bars more neatly and minimise crumbling).

4. Preheat the oven to 325 F/170 C/150 fan/gas mark 3.
5. Cut: Remove from the freezer, lift the mixture along with the paper out of the pan and place on a flat surface. Then using a sharp knife cut into 10 bars by firmly pressing down (rather than slicing back and forth). Gently separate the bars.

6. Bake: Bake in the centre of the oven for 20-25 minutes until nicely browned around the edges. Remove from the oven and set aside to cool completely.
TIP: I like these granola bars quite crispy, with a deep brown colour around the edges, which happens after 25 minutes of baking, but you can adjust baking times as desired.

Serving suggestions
For best results I recommend cooling these baked homemade protein granola bars completely before serving. They become crunchy and crispy as they set and cool (if you try to eat them warm they might crumble).
Delicious as a healthy breakfast on-the-go or satisfying snack. I like it with a bowl of cottage cheese.
Optional ingredients you can use
- Cinnamon or pumpkin spice: add about ½-2/3 teaspoon.
- Chocolate chips: about 3 tablespoons.
- Salt: sprinkle a small amount of coarsely grated sea salt.
- Protein powder: add about 1 tablespoon.
Can I cut these bars after I bake them
I do not recommend it. There are 2 reasons why it's best to cut these peanut butter protein granola bars before baking them. One is to allow them to crisp up around the edges (which adds flavour). The other is to minimise crumbling.
Can I serve them unbaked
If you prefer chewy granola bars you can omit step 6 (baking) and refrigerate the mixture (in the pan) for 2-3 hours before cutting and serving. You may also want to use a little more honey and/or peanut butter just to be sure these bars hold their shape.
I also recommend dry toasting the oats and nuts in the pan for added flavour before combining the ingredients. Keep these bars covered and refrigerated.
Storing
These crunchy homemade protein granola bars will stay fresh for up to 5 days (although still ok to eat beyond that time I find that the flavour changes a little). In order to preserve their crunchy texture it's best to keep them loosely wrapped in paper or in a paper bag in a dry place (bear in mind though that after a day or two they may not be quite as crispy).
Keeping these bars in a plastic container or refrigerator will alter their texture, so I don't recommend it.
Freezing
These homemade granola bars with peanut butter freeze well and you can freeze both leftovers as well as cut, unbaked bars. Here is how to do it:
- Leftover bars: Place on top of a large plate and freeze for 3-4 hours then transfer to an airtight container and freeze for up to 3 months. Defrost individual bars as needed (overnight in the fridge).
- Unbaked bars: Follow steps 1-3 and 5 then freeze the bars for 3-4 hours. Transfer to an airtight container and freeze for up to 3 months. To bake spread on top of a large baking sheet and bake from frozen in a preheated oven until lightly browned and crispy around the edges.
Top tips
- Use old-fashioned rolled oats (or jumbo oats) rather than instant.
- I used a combination of almonds and pecans but you can use any nuts.
- Cut the bars using a large sharp knife by firmly pressing down once.
- Cool your healthy protein granola bars completely before serving (they become crunchier as they cool).
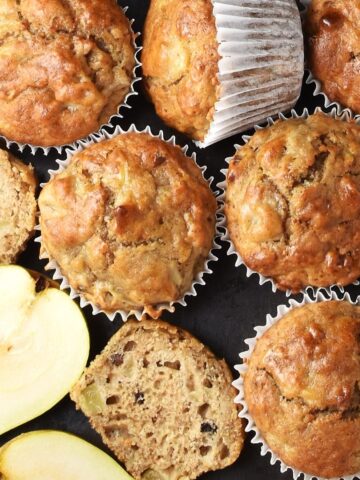
Related oat recipes to try next
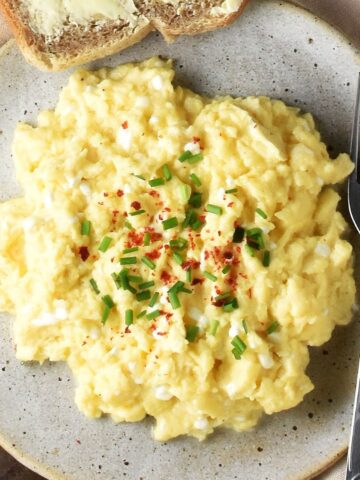
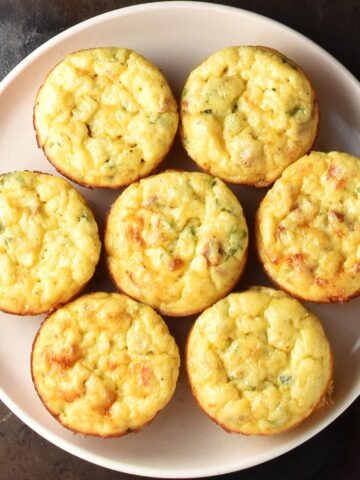
See also these other healthy breakfast recipes!
Recipe

Homemade Protein Granola Bars (No Protein Powder)
Equipment
- Large baking sheet
- Large mixing bowl and spoon
- 23cm/9inch pan
- Large sharp knife
Ingredients
- 1½ cups (127 g) old-fashioned rolled oats jumbo oats, gluten free if required
- 6 tablespoons (96 g) natural peanut butter approx. ⅓c, smooth
- ⅓ cup (113 g) honey
- ½ cup (65 g) nuts any, I used pecans and almonds
- 4 tablespoons pumpkin seeds
- 3 tablespoons sunflower seeds
- 3 tablespoons chia seeds
Instructions
- Combine ingredients: To a large mixing bowl add all the ingredients and stir until thoroughly mixed together.
- Pulse mixture: Place about a third of this mixture in a food processor and pulse a few times (this will help bind the granola bar mixture). Return to the bowl and stir until thoroughly mixed in.
- Add to pan: Lightly grease a 23cm/9inch baking pan and line with parchment paper (it should stick out on 2 opposite sides). Transfer the mixture to the pan and pack in tightly. Place in the freezer for 20 minutes (this will help cut the bars more neatly and minimise crumbling).
- Preheat the oven to 325 F/170 C/150 fan/gas mark 3.
- Cut: Remove from the freezer, lift the mixture along with the paper out of the pan and place on a flat surface. Then using a sharp knife cut into 10 bars by firmly pressing down (rather than slicing back and forth). Gently separate the bars.
- Bake: Bake in the centre of the oven for 20-25 minutes until nicely browned around the edges. Remove from the oven and set aside to cool completely.TIP: I like these granola bars quite crispy, with a deep brown colour around the edges, which happens after 25 minutes of baking, but you can adjust baking times as desired.
Notes
- Use old-fashioned rolled oats (or jumbo oats) rather than instant.
- I used a combination of almonds and pecans but you can use any nuts.
- Cut the bars using a large sharp knife by firmly pressing down once.
- Cool your healthy protein granola bars completely before serving (they become crunchier as they cool).
- See storing and freezing instructions at the bottom of the post.
Nutrition
*Nutritional information is automatically generated and should be considered as an estimate.
**A note about baking: If using a fan-assisted oven refer to your appliance's instructions and adjust the temperature accordingly.
Keep in touch!
If you make this baked, crispy protein granola bar recipe I'd love to know what you thought. Let me know in the comments below, thanks:)
Follow me on Facebook, Instagram and X for regular recipe updates! Or you could subscribe to this blog and receive all my latest recipes right into your mailbox!
Susan says
Can I add some protein powder to this recipe. Thanks
Monika says
I haven't tried it so I am not sure, unfortunately. The ingredients might not bind as well, but you can try adding a little more peanut butter or honey. It might work.
Julia says
These turned out great! I added ~2 tbsp of dark chocolate. My whole family loved them! Thanks so much.
Monika says
You are welcome! Thank you for letting me know:)
Lisa says
Hi! I just wanted to ask, are the bars more chewy if they are baked for less time then? Like would 20 mins keep them chewy? That's how I like my bars!
Monika says
You can bake them for 10 minutes or serve raw, if you like them chewy. There is a separate section on this in the post.
Hinal says
Love this. Thank u so much!
Monika says
You are welcome!