Everything you need to know about making homemade breadcrumbs - including the type of bread and equipment to use as well as tips for storing. Find out how to make ordinary as well as panko style breadcrumbs. Recipe examples included.
Homemade breadcrumbs are a super handy ingredient to have in your kitchen. I use them for crisping things up and as a thickening or binding ingredient. And because I cook a lot I use breadcrumbs quite a lot too. For me they are almost as indispensable as salt and pepper.
Why you should make homemade breadcrumbs
- Why pay for a product you can easily make at home!
- Less waste! You won't have to discard your stale bread.
- It's easy!
What bread to use
Generally speaking any bread (as well as rolls) will work though I don't recommend using rye bread. It has a dense, 'meaty' texture and is not very absorbent so won't make your meatloaf soft or your sweet potato fish cakes crispy.
You can use grainy, nutty or seeded bread but the breadcrumbs won't keep as well as simple white or whole wheat breadcrumbs due to the natural oils from the seeds. So use these breadcrumbs quickly.
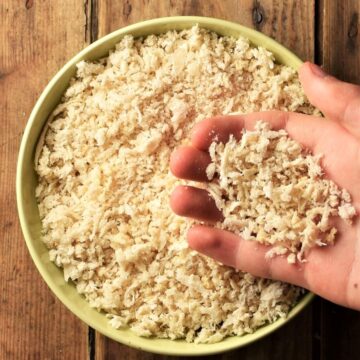
For panko style breadcrumbs use soft white bread without the crust (these breadcrumbs need to be very light). You can use the crust to make regular breadcrumbs.
How to make breadcrumbs using a food processor
You can use various devices including a food processor, blender and box grater to make homemade breadcrumbs but the most effective and versatile method is using a food processor. This is because only the food processor makes both fine and coarse crumbs (including panko).
- To make fine breadcrumbs use the large blade of the food processor. This blade can also be used for a coarser crumb but it will be a mixture of coarse and fine crumbs.
- For a coarse, panko style crumb use the grating disc of the food processor. Use either fresh or stale bread.
1.Chop the bread roughly and place in the food processor (using either the blade or grating disc) and pulse until crumbly.
These breadcrumbs can either be used fresh or dried (see step below). Fresh breadcrumbs can be used immediately or refrigerated for up to 3 days. You can also freeze them for up to 3 months.


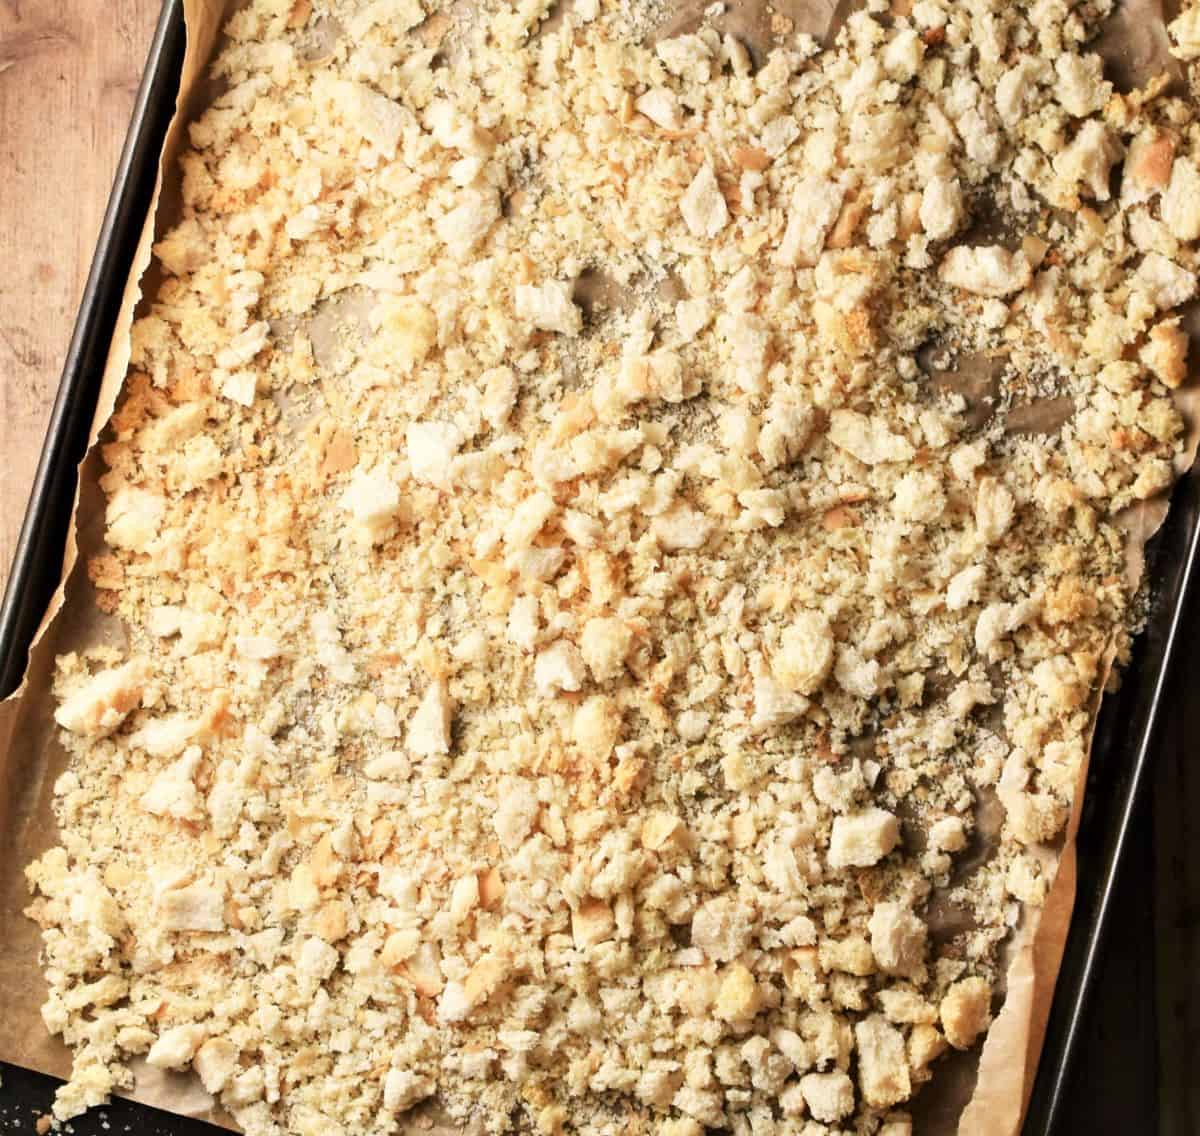
2. To dry breadcrumbs preheat the oven to 300 F/ 150 C/ gas mark 2 and line a large baking sheet with parchment. Spread your bread mixture over the sheet as evenly as possible (without overcrowding it) and bake in the centre of the oven for 5 minutes. Remove from the oven, stir and bake for a further 4 minutes. Remove from the oven and set aside to cool completely. The mixture should be very crisp, dry and make a rustling sound when you touch it.

3. If you used a grating disc your panko style breadcrumbs are now ready to use or store for later.
If you used a blade and your breadcrumbs are a little too large you can place them back in the food processor and pulse until the crumbs are the consistency you want (see photo below). Alternatively place the toasted bread in a zip lock bag and bash using a rolling pin.
Top tip
Ensure the breadcrumbs are completely cooled before storing.

Making breadcrumbs using frozen bread
If you want to make homemade breadcrumbs using frozen bread defrost it first (either in the oven on low or in the microwave, for individual slices), then chop and follow the instructions for drying above.
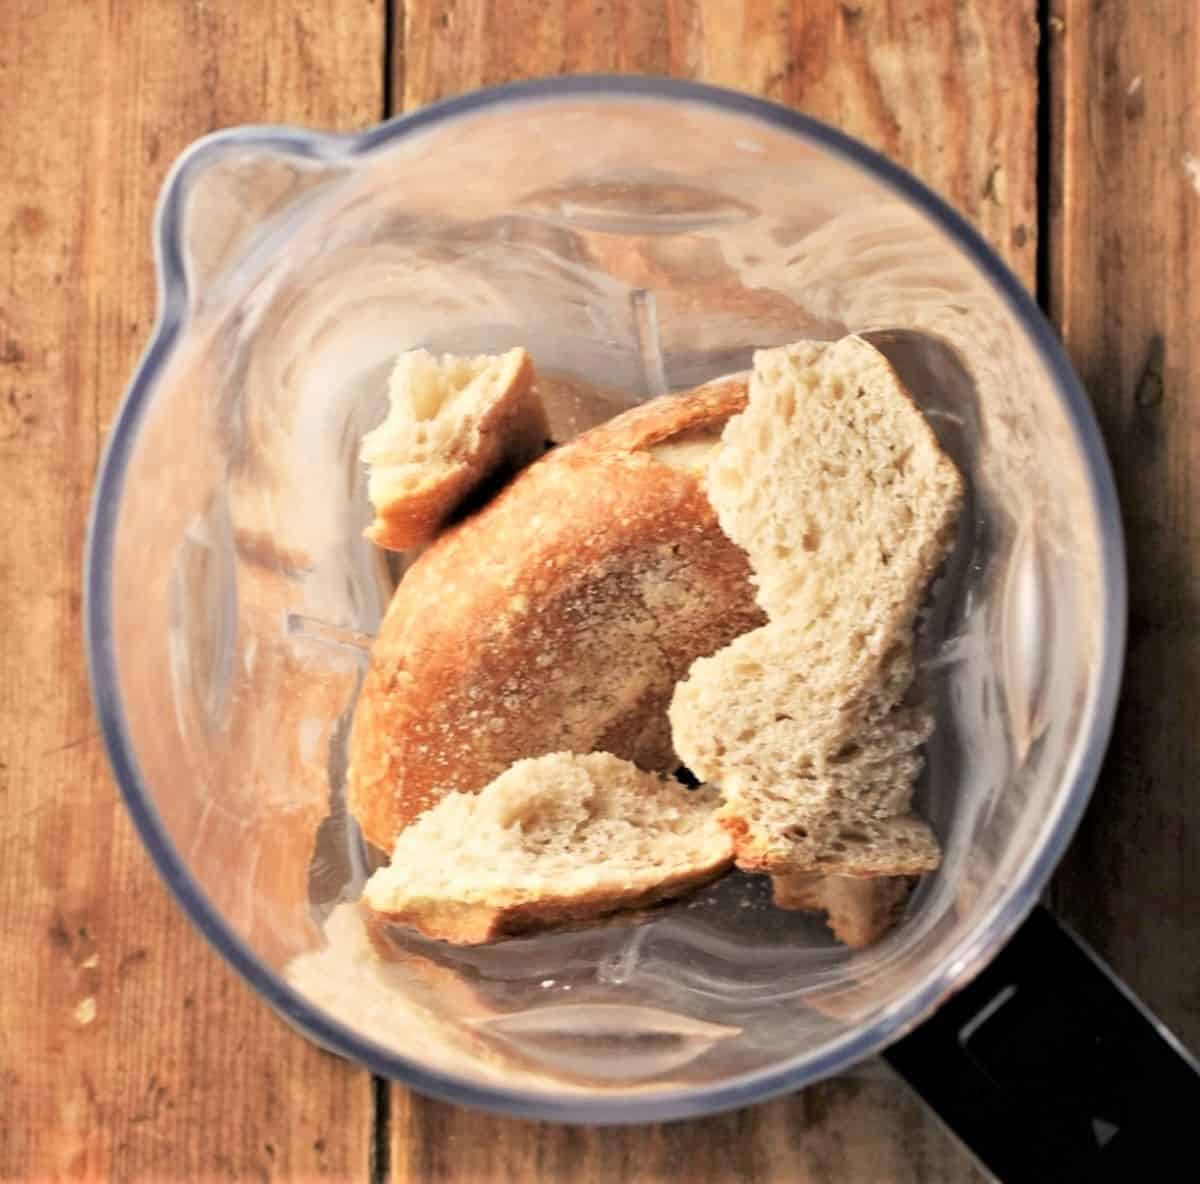
Making your own breadcrumbs using a high speed blender
A high speed bender is a handy tool to have especially useful in processing very tough textures. Such as a piece of bread that's been sitting forgotten at the back of your bread bin and has become hard as a rock. Even this bread can still be rescued (as long as it's not gone mouldy!)
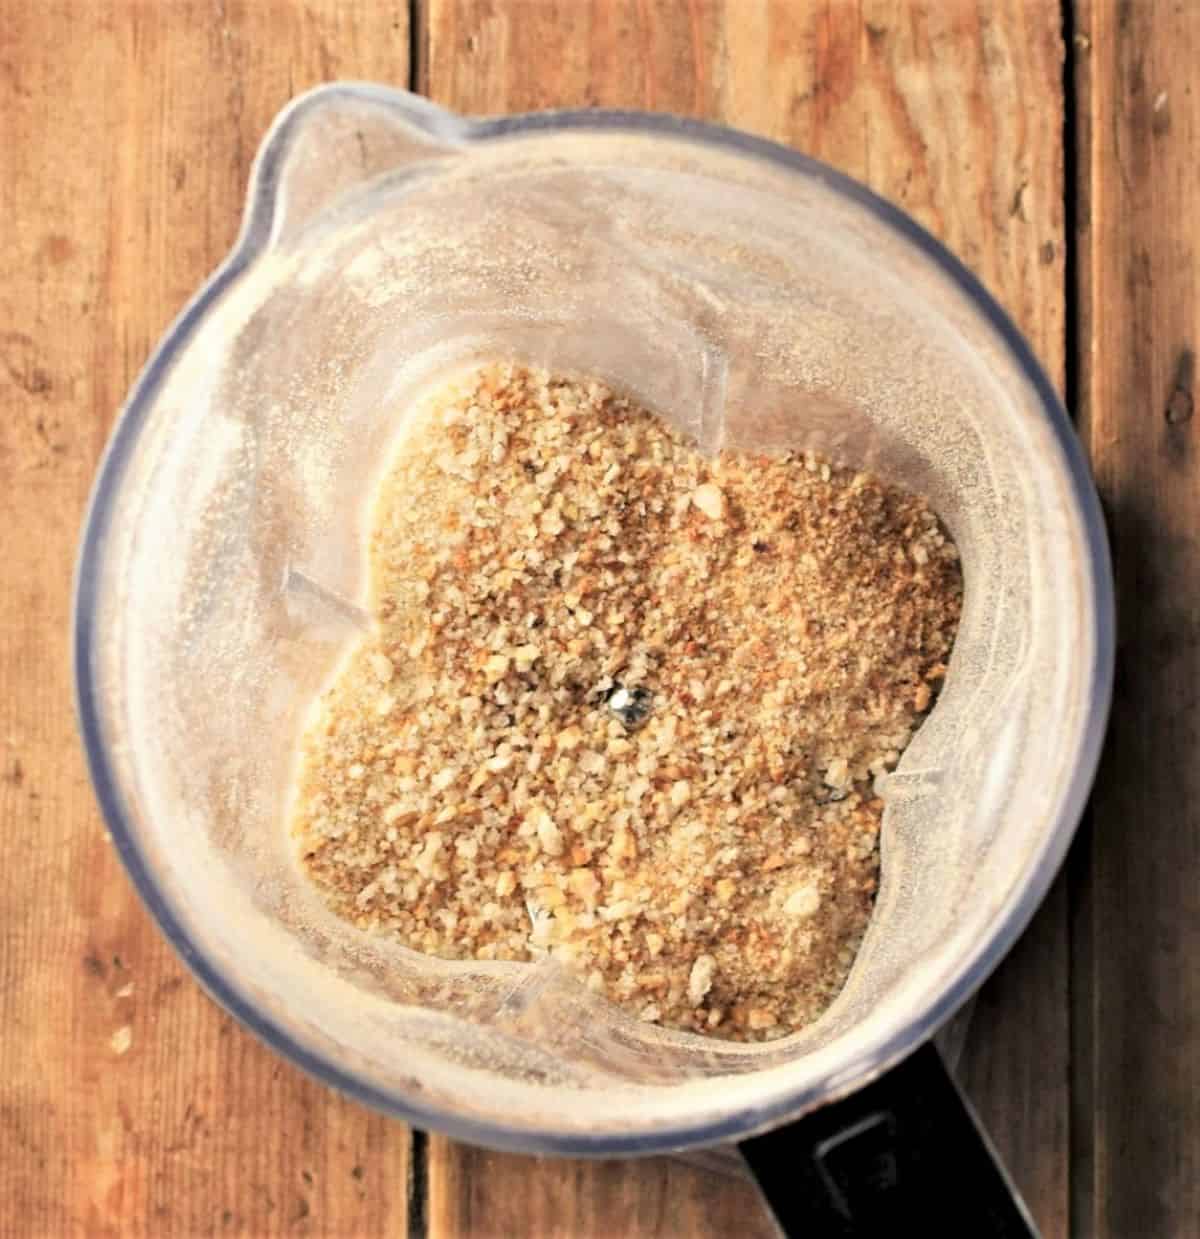
Simply turn it into breadcrumbs using a powerful blender (provided you've got chunks of this bread, not an entire loaf!). Make sure you only blend it briefly as it can easily become over processed and powdery.
The breadcrumbs this will produce will be fine and very dry, perfect to use right away or store for later. You can use a blender to make breadcrumbs using fresh bread but the crumb is also likely to be fine rather than coarse.
Top tip
You can also use a food processor (the grating disc) to turn very hard bread into crumbs.
Making breadcrumbs by hand
A box grater is also very effective in turning very hard, dry bread (including stale toast) into fine breadcrumbs (though be careful you don't scrape your knuckles!).
If you are using fresh bread chop it up as finely as possible then spread on top of a large baking sheet and dry in the oven as per Instructions below. Once completely cooled place in a paper or plastic bag and crush the bread with a rolling until you get the consistency you want.
Top tip
If you need a small amount of breadcrumbs and don't want to use a box grater try a coffee grinder!
How to use homemade bread crumbs
Breadcrumbs have all sorts of culinary uses so are a handy ingredient to have in your cupboard.
Finer breadcrumbs are a great binding agent especially when it comes to ingredients that are high in moisture such as vegetables. For example these broccoli patties and cauliflower patties would not hold their shape if it wasn't for the breadcrumbs.
In this cauliflower crusted chicken recipe breadcrumbs not only absorbed some of the moisture from the cauliflower but also added crispiness to the topping.
Both fine and coarse breadcrumbs can also be used alongside cornflakes to make crispy chicken nuggets, or on their own for shallow fried fish cakes.
Coarser breadcrumbs (panko style) produce a light and crispy coating and can be used for shallow frying as well as baking. I used my homemade panko to make super crispy baked chicken fingers.

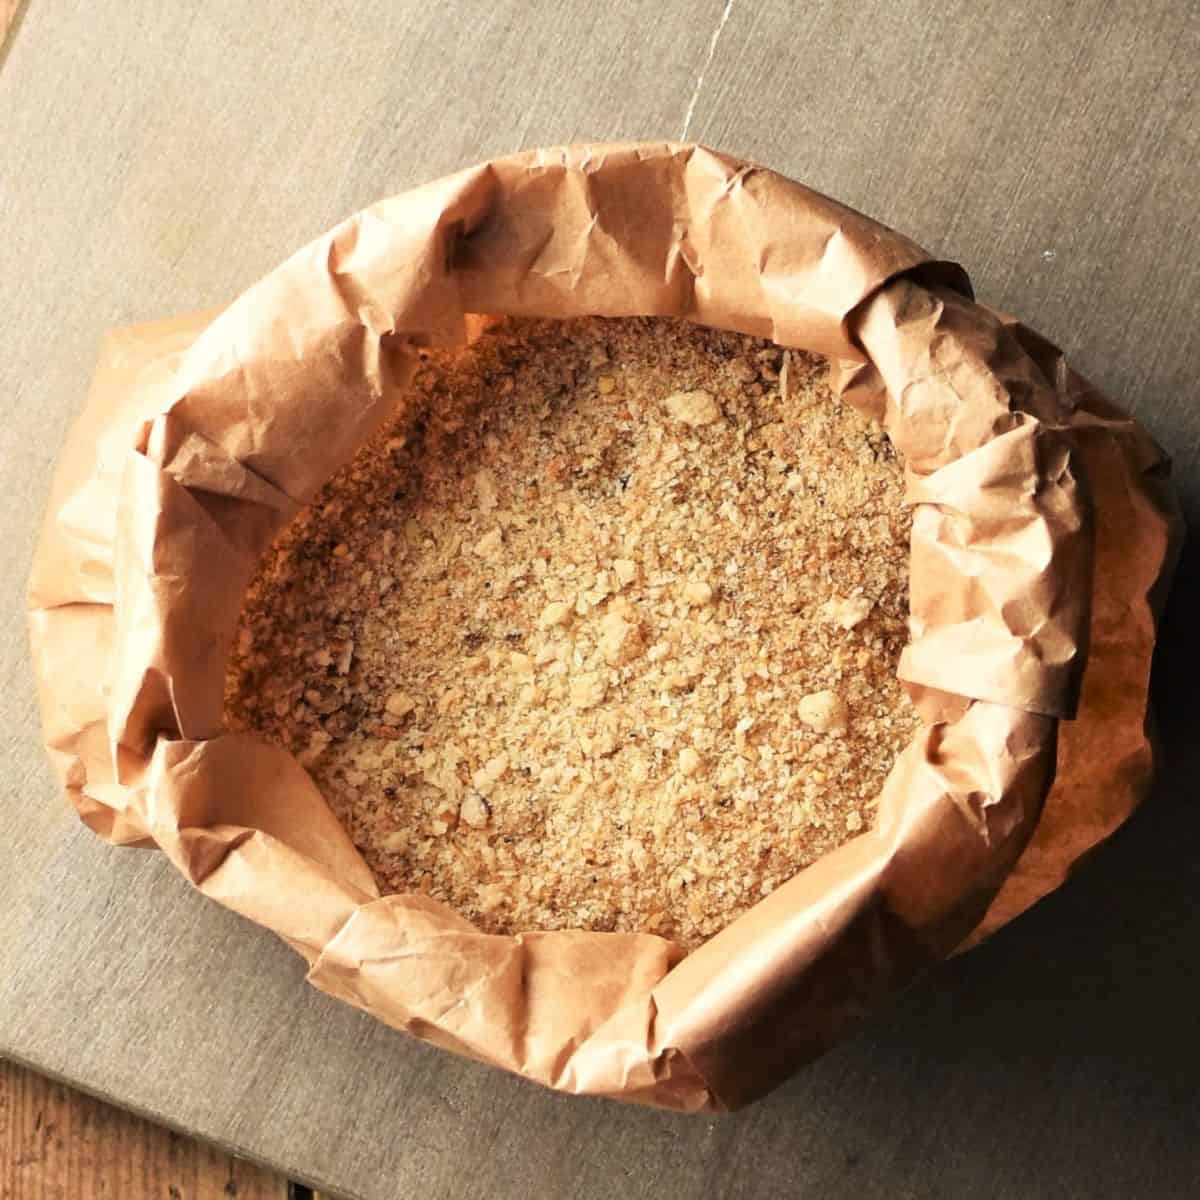
Storing breadcrumbs
Store your homemade breadcrumbs a paper bag and keep in a cool dry place (such as a cupboard), away from sources of heat or water. Alternatively keep your breadcrumbs in a glass container or plastic bag (ensure they are absolutely dry and cool before storing). I recommend storing your panko style breadcrumbs in a plastic/glass container rather than a paper bag so they keep their shape.
Top tips and FAQs
- There is no need to remove the crust from the bread before making homemade breadcrumbs (except for panko style crumbs).
- Use either a food processor, high speed blender or box grater to make breadcrumbs. While a food processor will produce both fine as well as coarse crumbs (so is most versatile and effective) a blender and box grater are better for making finer breadcrumbs using very dry bread.
- Food processor: To make fine breadcrumbs use the large blade. For a coarse, panko style crumb use the grating disc of the food processor (use soft white bread without the crust - process the crust separately, then dry and use as ordinary breadcrumbs). Use either fresh or stale bread.
- Do not let the breadcrumbs brown in the oven - you only need to dry them. Ensure your oven temperature is low and you dry them briefly (see steps above).
- Cool the dried breadcrumbs completely before storing.
- Dried breadcrumbs can be stored for up to 3 months (or even longer if they've been dried and stored properly). Fresh bread breadcrumbs should be refrigerated in an airtight container for up to 3 days or frozen for up to 3 months.
- If you want to add other ingredients into your bread crumbs (herbs, spices etc) do so just before using the breadcrumbs.
Keep in touch!
Do you make your own breadcrumbs using similar/different methods? Let me know in the comments below, thanks:)
Follow me on Facebook, Instagram and Twitter for regular recipe updates! Or you could subscribe to this blog and receive all my latest recipes right into your mailbox!
Recipe
Homemade Breadcrumbs - A Guide
Equipment
- Food processor
- Blender
- Box grater
Ingredients
- 4 slices of bread white or whole wheat, fresh or a little stale
Instructions
- To make fine breadcrumbs use the large blade of the food processor. This blade can also be used for a coarser crumb but it will be a mixture of coarse and fine crumbs. For a coarse, panko style crumb use the grating disc of the food processor. Use either fresh or stale bread.Chop the bread roughly and place in the food processor (using either the blade or grating disc) and pulse until crumbly.These breadcrumbs can either be used fresh or dried (see step below). Fresh breadcrumbs can be used immediately or refrigerated for up to 3 days. You can also freeze them for up to 3 months.
- To dry breadcrumbs preheat the oven to 300 F/ 150 C/ gas mark 2 and line a large baking sheet with parchment. Spread your bread mixture over the sheet as evenly as possible (without overcrowding it) and bake in the centre of the oven for 5 minutes. Remove from the oven, stir and bake for a further 4 minutes. Remove from the oven and set aside to cool completely. The mixture should be very crisp, dry and make a rustling sound when you touch it.
- If you used a grating disc your panko style breadcrumbs are now ready to use or store for later.If you used a blade and your breadcrumbs are a little too large you can place them back in the food processor and pulse until the crumbs are the consistency you want. Alternatively place the toasted bread in a zip lock bag and bash using a rolling pin.Ensure the breadcrumbs are completely cooled before storing.
Notes
- There is no need to remove the crust from the bread before making homemade breadcrumbs (except for panko style crumbs).
- Use either a food processor, high speed blender or box grater to make breadcrumbs. While a food processor will produce both fine as well as coarse crumbs (so is most versatile and effective) a blender and box grater are better for making finer breadcrumbs using very dry bread.
- Food processor: To make fine breadcrumbs use the large blade. For a coarse, panko style crumb use the grating disc of the food processor (use soft white bread without the crust - process the crust separately, then dry and use as ordinary breadcrumbs). Use either fresh or stale bread.
- Don't brown the breadcrumbs in the oven - you only need to dry them. Ensure your oven temperature is low and you dry them briefly (see steps above).
- Cool the dried breadcrumbs completely before storing.
- Dried breadcrumbs can be stored for up to 3 months (or even longer if they've been dried and stored properly). Fresh bread breadcrumbs should be refrigerated in an airtight container for up to 3 days or frozen for up to 3 months.
- If you want to make homemade breadcrumbs using frozen bread defrost it first (either in the oven on low or in the microwave, for individual slices), then chop and follow the instructions for drying above.
- If you want to add other ingredients into your bread crumbs (herbs, spices etc) do so just before using the breadcrumbs.
Nutrition
*Nutritional information is automatically generated and should be considered as an estimate.
**A note about baking: If using a fan-assisted oven refer to your appliance's instructions and adjust the temperature accordingly.

Mila says
If I have an old bread I always make breadcrumbs with some herbs, homemade is always better and no any nasties.
Monika says
Couldn't agree with you more!
Corina says
I think it's a great idea to always have homemade fresh breadcrumbs in the house. I'm afraid I'm rarely that organised and tend to make them at the last minute by drying the bread in the oven then blitzing it in the food processor! I'll have to try and try and do this in future though.
Monika says
I am not all that organised either but once you make a big batch of breadcrumbs it will last for months, so it doesn't require too much effort. That's why I do it.