This easy no-bake avocado cheesecake pie is a healthier dessert that's perfect for any occasion. It's zesty, creamy, contains moderate amounts of sugar and fat and tastes absolutely delicious!

This avocado cheesecake pie is ideal if you love cheesecake but not necessarily all the calories that usually come with it. I tried to keep this recipe as light as possible by using less sugar than most cheesecake recipes call for as well as a moderate amount of fat. Thanks to the avocado this cheesecake is also quite nutritious!
Avocado cheesecake ingredients

To make the base for this cheesecake pie I used digestive biscuits, melted butter, a little cacao for added flavour and colour and maple syrup to help bind the mixture.
To make the filling I combined cream cheese and ricotta cheese (naturally low in fat and mellow so perfect to offset the tartness of the cream cheese), added a moderate amount of icing sugar, a little lime juice and plenty of lime zest. I then added mashed avocado and pureed the mixture until smooth. The final ingredient I used is a bit of double cream for an exceptionally light and fluffy finish.
Can you taste the avocado in this recipe
No, you can't! The avocado and lime really complement each other and this recipe is like a better version of a key lime pie - not only full of flavour but also great colour (thanks to the avocado)!
Step-by-step recipe instructions
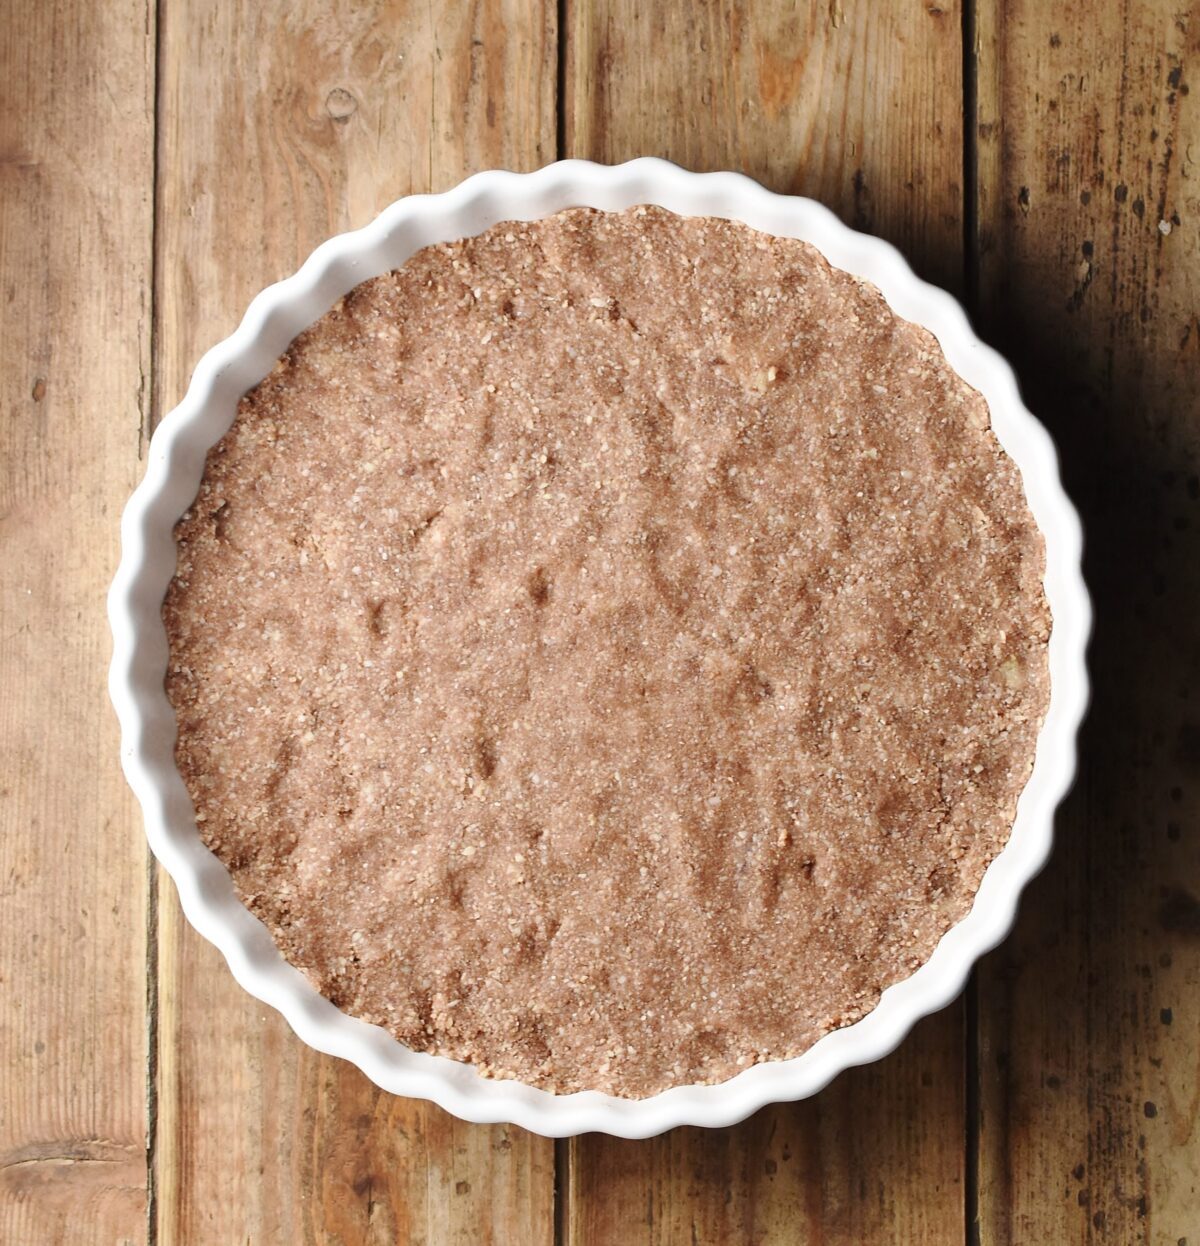
1.To make the base process the biscuits until they form a crumb then add the cocoa powder, maple syrup and melted butter and stir until thoroughly mixed.

2. Press the mixture into the bottom of a 23 cm/9'' pie dish and place in the freezer for 30 minutes. After 20 minutes start making the filling.
3. Mash the avocado.

4. To the food processor add the ricotta, cream cheese, lime juice and zest, sugar and avocado.

5. Blend until the ingredients are thoroughly incorporated and the mixture is smooth (do not overblend). Transfer the mixture into a large bowl.

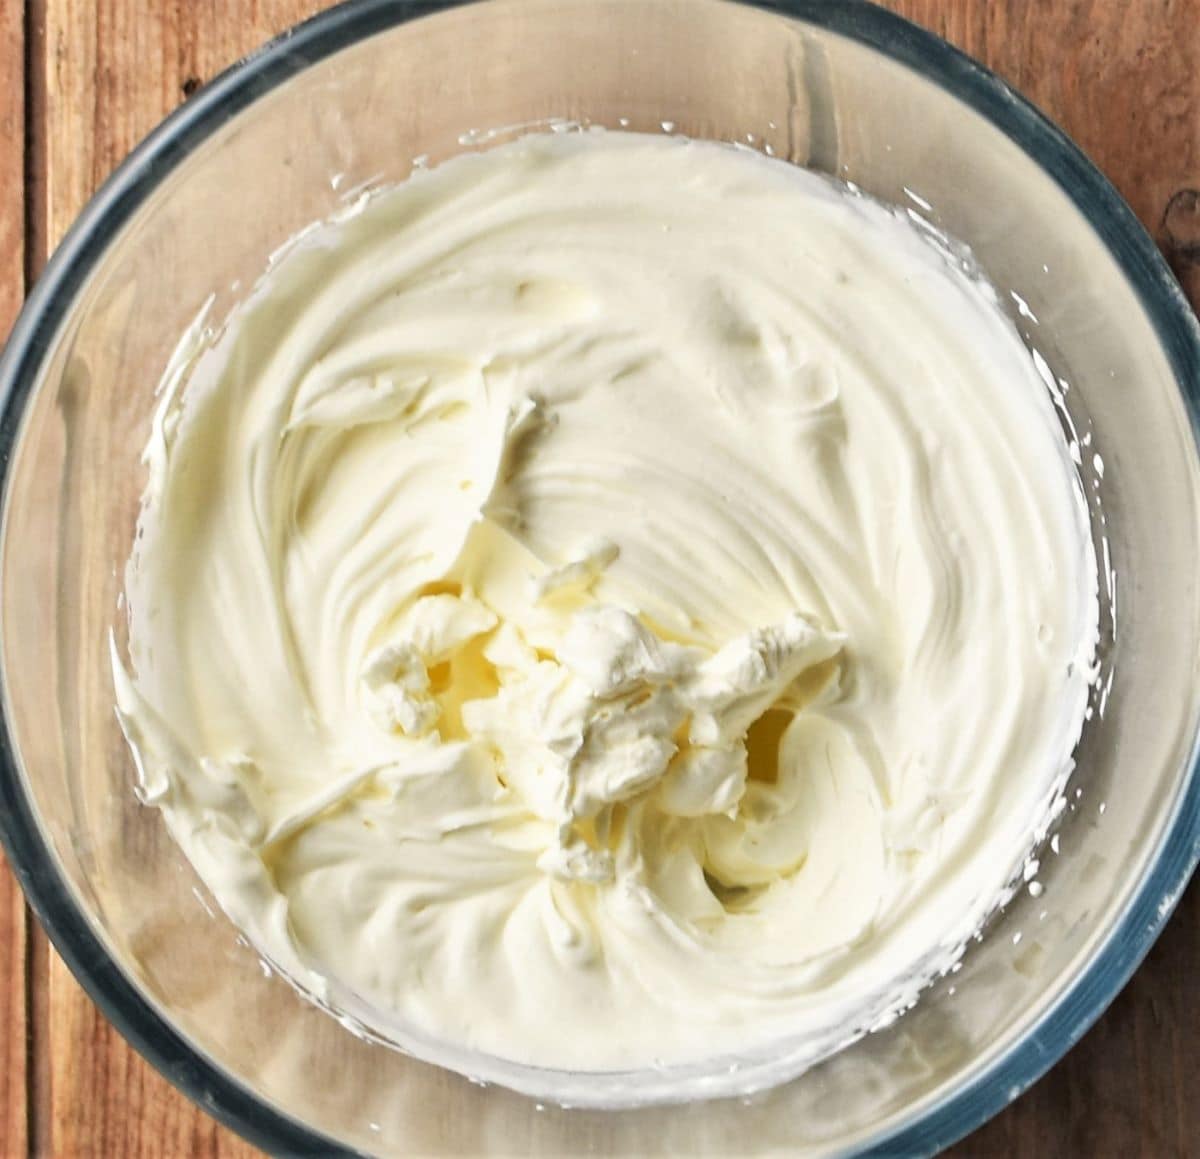
6. In a separate bowl beat the double cream until soft peaks form (you can do this using either an electric mixer or whisk). Do not overbeat.
7. Gently fold the whipped cream into the cheesecake filling mixture until thoroughly incorporated.

8. Remove the cheesecake base from the freezer and spoon the filling mixture over the top. Decorate with lime zest and crushed pistachios (optional). Refrigerate for at least 8 hours (overnight). Alternatively freeze for 1 hour then serve.
Top tips
- Use ripe and soft avocado. If using the Hass variety you will need about 1 medium size avocado (however, I recommend weighing the flesh).
- Zest the limes first then juice the limes.
- Try not to overbeat the cream - it should be thick but soft enough to easily fold into the filling mixture.
- Refrigerate this avocado cheesecake for at least 8 hours (overnight) before serving. Alternatively freeze for 1 hour then serve.
- Keep refrigerated, covered and consume within 2 days.
- Freeze, covered, for up to 3 months.
How to freeze this cheesecake
Place the cheesecake in the freezer for 2 hours. Remove from the freezer, cover with foil and place back in the freezer. To defrost it remove the foil and place in the fridge overnight.
You can also freeze individual slices. Arrange them in an airtight container in a single layer (you can put small pieces of non-stick paper in-between the slices to make sure they don't stick to one another) and freeze. Individual slices can be defrosted in the microwave.

Make mini avocado cheesecakes
This is easy to do and perfect if you want to serve this recipe a little differently. Make the base mixture and divide between your dessert cups pressing into the bottom of each cup. Spoon a desired amount of the cheesecake filling mixture on top and refrigerate for at least 4 hours before serving.
Top tip
You can also serve these mini cheesecakes without the biscuit base.
Substitutions
- Use either cocoa or cacao for the base.
- Maple syrup can be replaced by honey or agave syrup.
- Either digestive biscuits or graham crackers are fine to use.

You might also like
- 5-Ingredient Avocado Chocolate Mousse
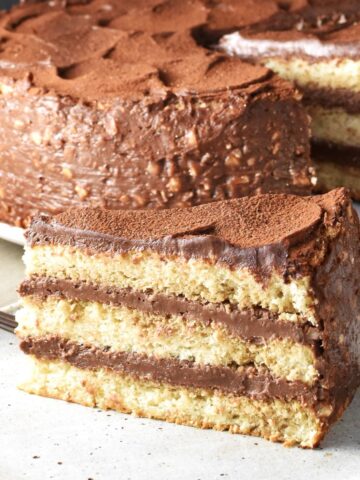
- Black Forest Cheesecake Tart
- Healthy Coffee Cheesecake
- Avocado Raspberry Muffins with Lime
Check out also this collection of 27 everyday cacao recipes.
Keep in touch!
If you make this avocado cheesecake recipe I'd love to know how it turned out for you. Let me know in the comments below, thanks:)
Follow me on Facebook, Instagram and Twitter for regular recipe updates! Or you could subscribe to this blog and receive all my latest recipes right into your mailbox!
Recipe

Avocado Cheesecake Pie
Equipment
- Food processor
- 23 cm/9'' pie dish (approx. 5 cm deep) or loose base tin
Ingredients
For the Filling:
- 5.29 ounces (150 g) avocado flesh approx. 1 med. avocado
- 2½ tablespoons lime juice
- Zest of 3 limes plus more for decorating (optional)
- 1⅓ cups (300 g) cream cheese
- ⅘ cup (200 g) ricotta cheese firm, drained thoroughly
- ⅓ cup+1tbsp (100 ml) double cream heavy cream
- ¾ cup (90 g) icing sugar confectioner's sugar
For the Base:
- 7.05 ounces (200 g) digestive biscuits graham crackers
- 1½ tablespoons maple syrup or honey
- ⅔ stick (70 g) butter melted
- 1 tablespoon cacao/cocoa powder
Instructions
- To make the base process the biscuits until they form a crumb then add the cocoa powder, maple syrup and melted butter and stir until thoroughly mixed.
- Press into the bottom of a 23 cm/9'' pie dish and place in the freezer for 30 minutes. After 20 minutes start making the filling.
- Mash the avocado. To the food processor add the ricotta, cream cheese, lime juice and zest, sugar and avocado. Blend until the ingredients are thoroughly incorporated and the mixture is smooth (do not overblend). Transfer the mixture into a large bowl.
- In a separate bowl beat the double cream until soft peaks form (you can do this using either an electric mixer or whisk). Do not overbeat.
- Gently fold the whipped cream into the cheesecake filling mixture until thoroughly incorporated.
- Remove the cheesecake base from the freezer and spoon the filling mixture over the top. Decorate with lime zest and crushed pistachios (optional). Refrigerate for at least 8 hours (overnight) or freeze for 1 hour then serve.
Notes
- Use ripe and soft avocado. If using the Hass variety you will need about 1 medium size avocado (however, I recommend weighing the flesh).
- Zest the limes first then juice the limes.
- Try not to overbeat the cream - it should be thick but soft enough to easily fold into the filling mixture.
- Refrigerate this avocado cheesecake for at least 8 hours (overnight) before serving. If you want to serve it sooner freeze it for one hour then enjoy.
- Keep refrigerated, covered and consume within 2 days.
- Freeze, covered, for up to 3 months.
Nutrition
*Nutritional information is automatically generated and should be considered as an estimate.
**A note about baking: If using a fan-assisted oven refer to your appliance's instructions and adjust the temperature accordingly.

Leave a Reply