Traditional Polish Sweet Cheese Pierogi are made using lightly sweetened farmers’ cheese and can be served with various toppings usually as a main meal. Made using my tried and tested traditional 4-ingredient easy pierogi dough. Step-by-step instructions included.
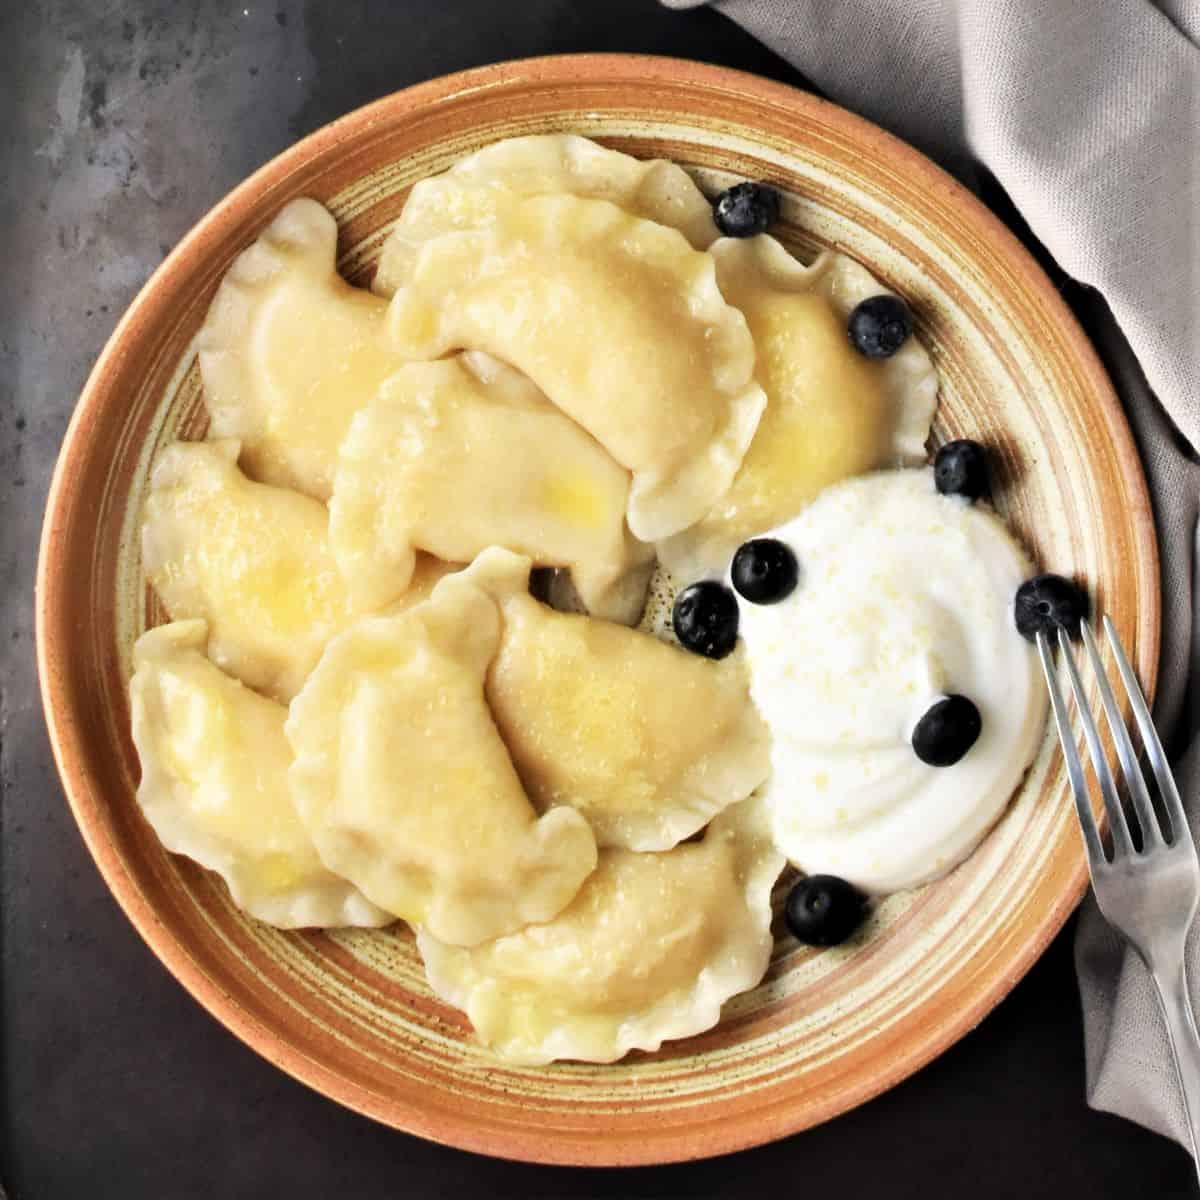
Sweet Cheese Pierogi are either called ‘pierogi z serem’ (‘with cheese’ in Polish) or ‘pierogi z serem na słodko’ (meaning ‘with sweet cheese’). The filling is very similar to the filling used for naleśniki, traditional Polish crepes. It consists primarily of lightly sweetened vanilla flavoured Polish farmers’ cheese.
Like all pierogi recipes these sweet pierogi are simple to make, contain a handful of ingredients and make delicious comfort food!
Sweet pierogi cheese
Sweet cheese pierogi are made with twarόg (pronounced ‘TPHA-ruk’), traditional Polish farmer’s cheese (curd cheese), with a firm texture and sour flavour. It’s an essential ingredient in many other traditional dishes, which in addition to Polish crepes also include Polish cheesecake as well as perhaps the most popular Polish dish – pierogi ruskie.
Sweet cheese pierogi ingredients
For the dough
- All-purpose/plain flour.
- Water: it should be very warm/hot.
- Vegetable oil or butter.
- Salt.
For the filling
- Twarόg: I recommend using the full-fat (‘tłusty’) rather than reduced fat (‘pόł-tłusty’) variety. Your filling will be creamier. I do NOT recommend using another type of cheese in this recipe.
- Confectioner’s/icing sugar.
- Semolina: helps bind the mixture.
- Cornstarch/UK cornflour: another binding ingredient. I use it along with the semolina to ensure the mixture is easy to work with and you can’t taste either of these ingredients. In Poland potato flour would normally be used instead (it has the same effect as the cornstarch).
- Egg yolk.
- Vanilla extract: in Poland this would normally be replaced by ‘vanilla sugar’, which is basically vanilla flavoured confectioner’s sugar. As this ingredient is hard to find outside of Poland I am using vanilla extract instead.
Farmers' cheese pierogi recipe instructions
1.Combine dough ingredients: To a large bowl add the flour, salt, oil and gradually add the water stirring all the time to combine.
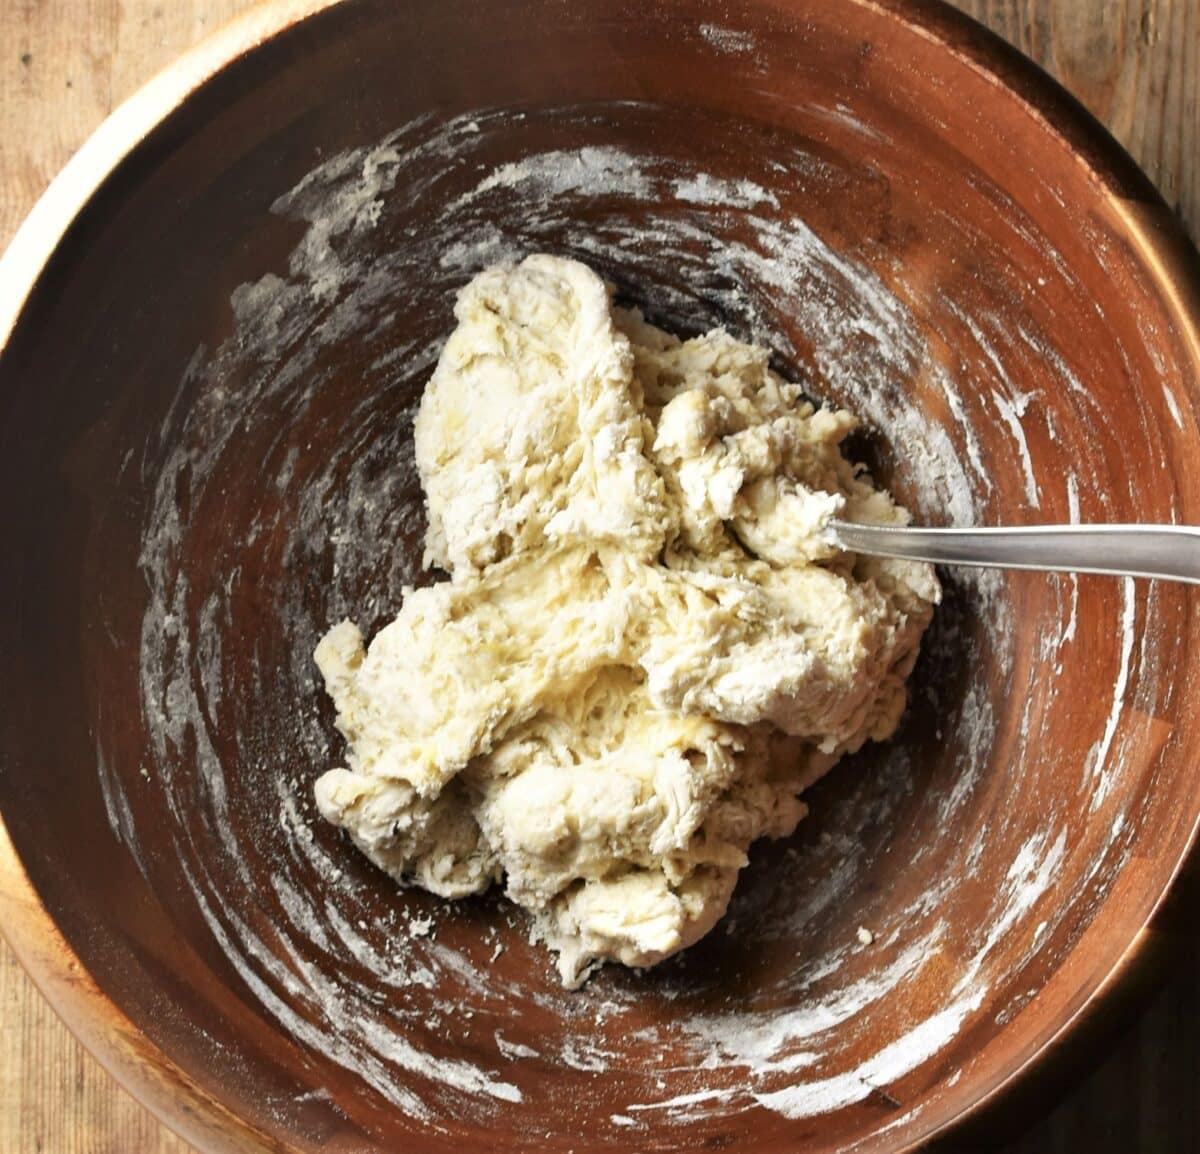
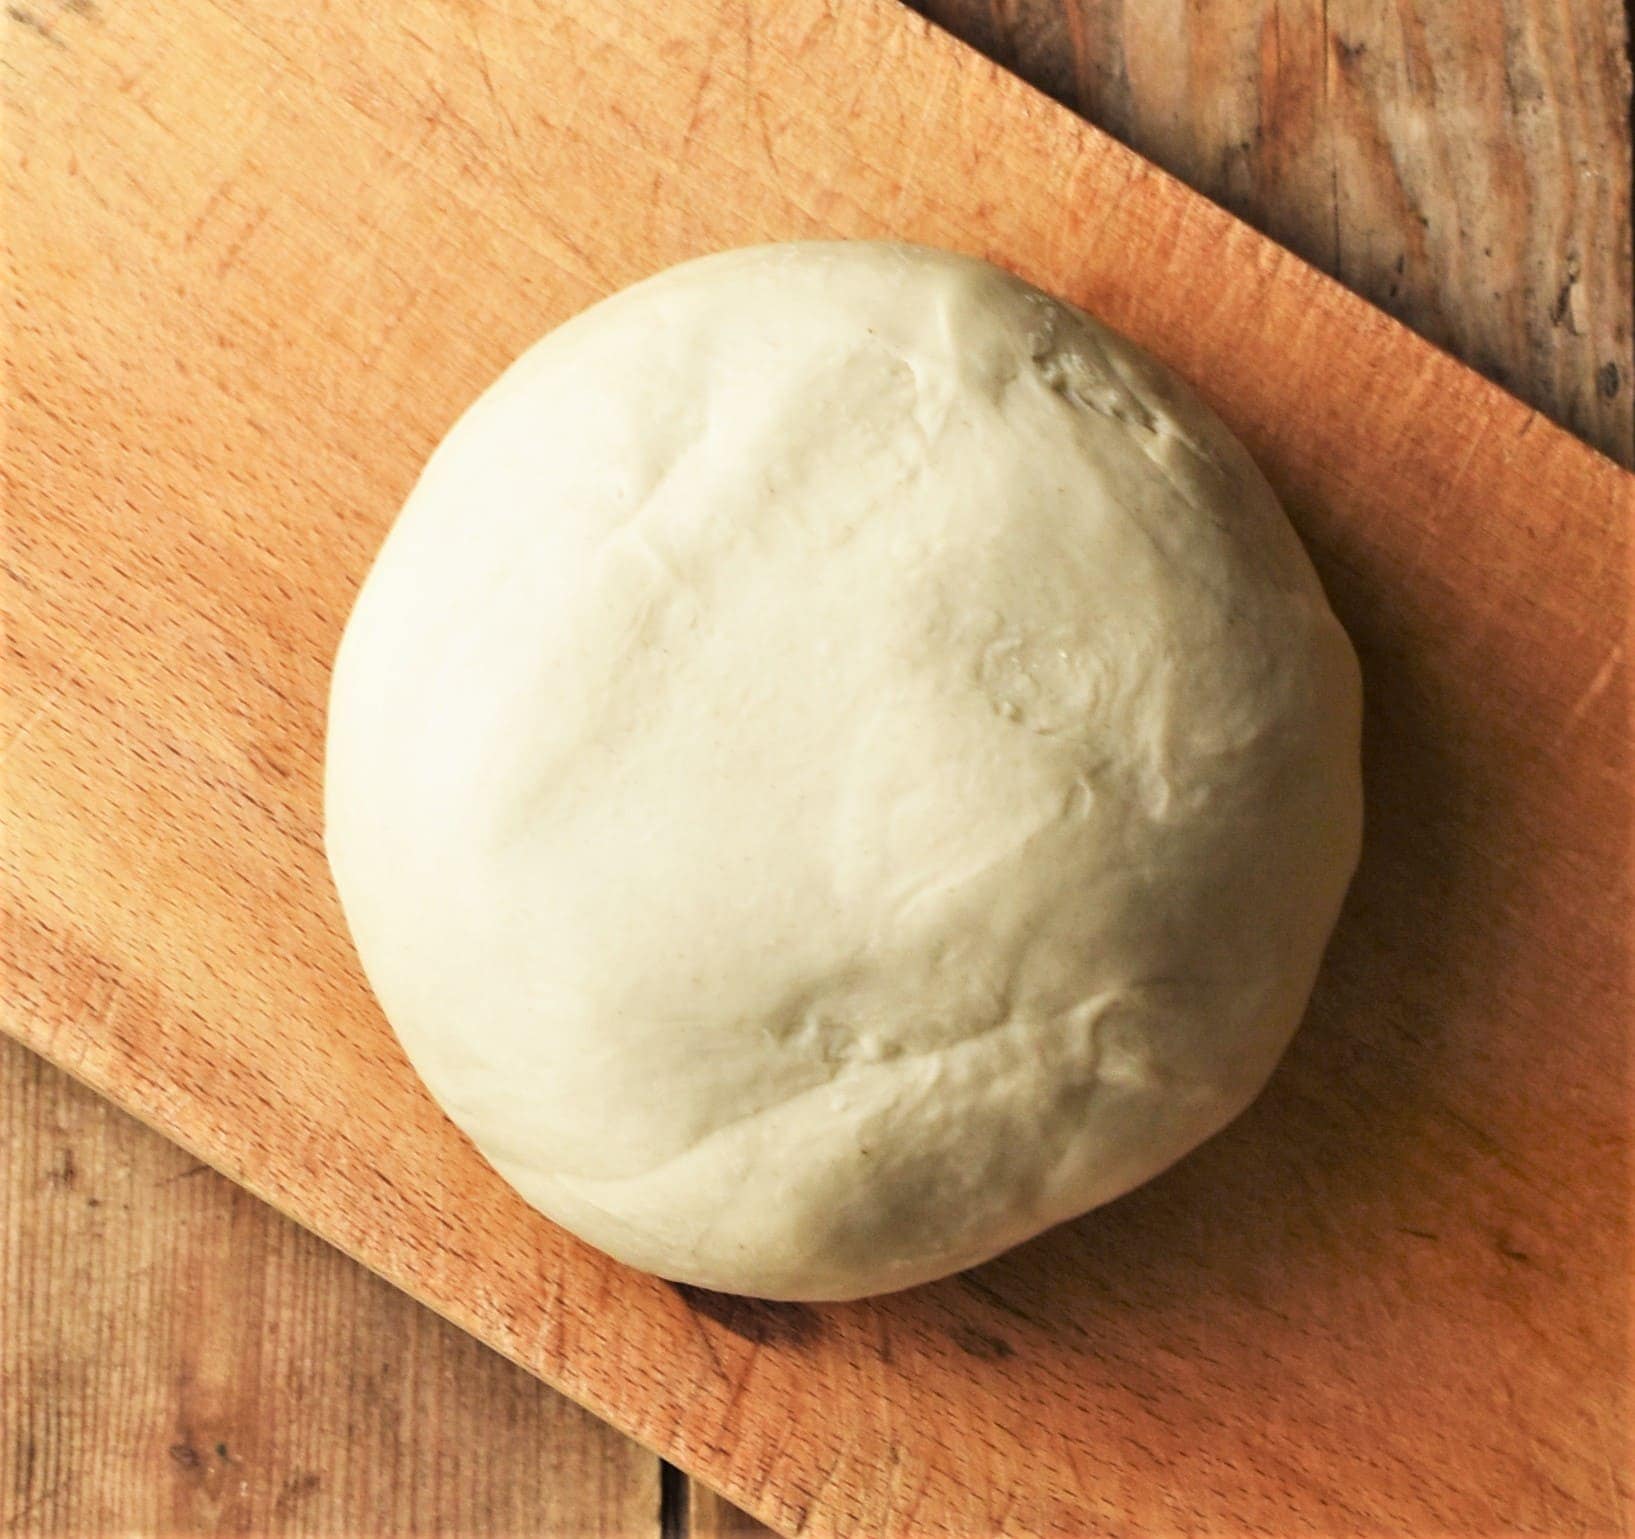
2. Knead dough: When the dough starts coming together transfer it to a lightly floured surface and knead for about 6 minutes until silky smooth and soft. Cover with a bowl and set aside for 20 minutes.
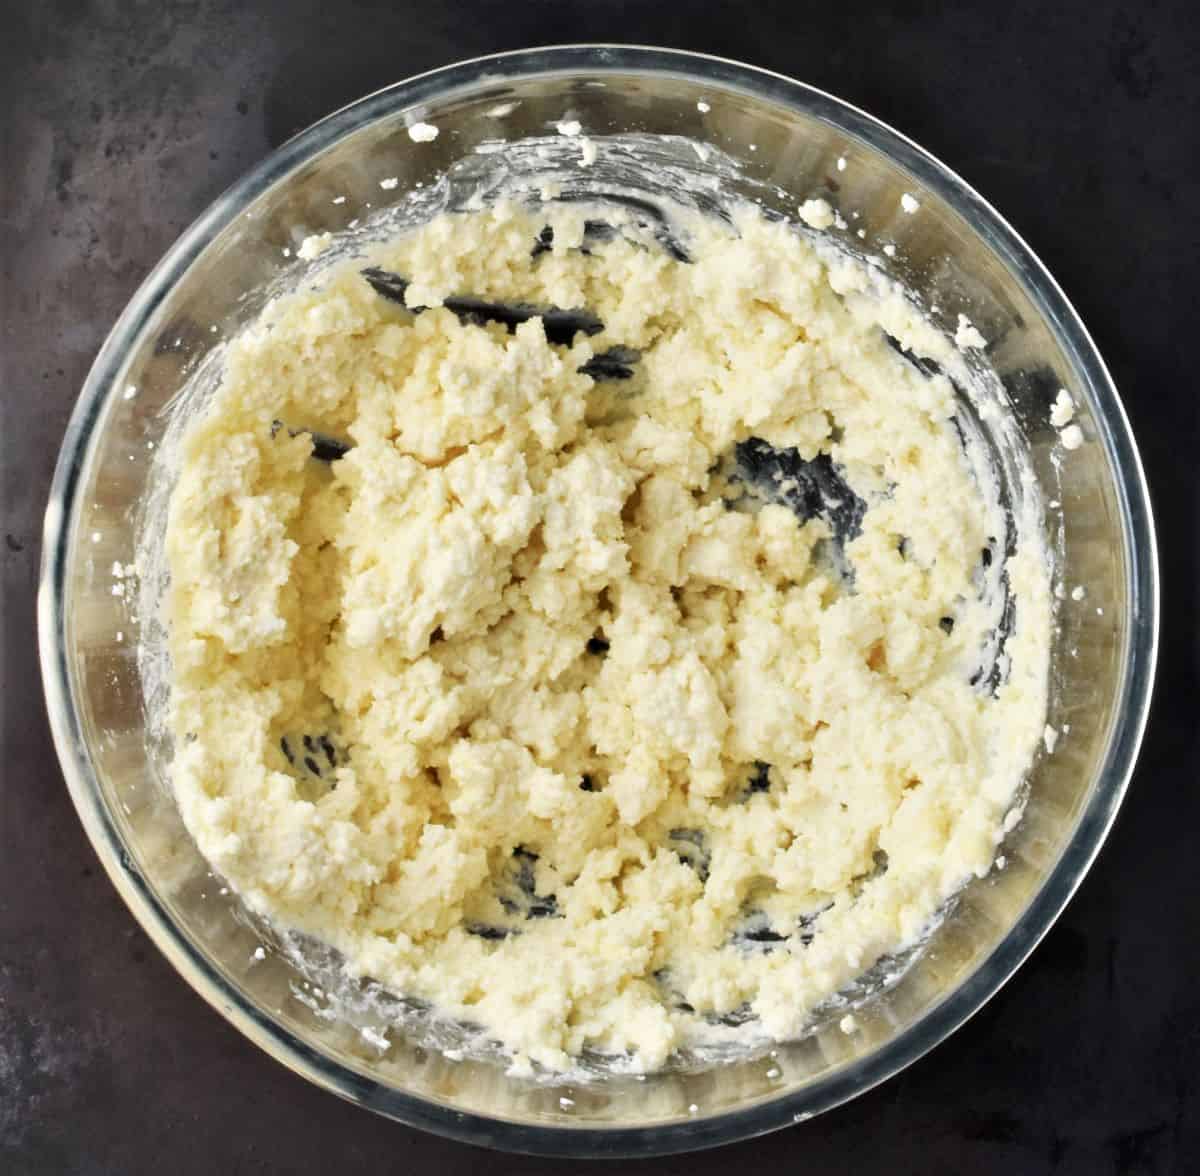
3. Make pierogi filling: Beat together all the filling ingredients just until the mixture starts becoming creamy and coming together (do not overbeat). Alternatively make the mixture using a potato masher.
Fill a large pot with salted water (about ⅔), cover and bring to the boil.
4. Roll out dough: Divide the dough into 2-3 parts (easier to work with). Roll out one part (keeping the others covered) on top of a lightly floured surface as thinly as possible, 2-3 mm in thickness.
5. Cut out rounds: Using the rim of a glass with a diameter of about 7cm/3in, or cookie cutter, cut out round shapes. Gather up the dough scraps and combine with the remaining dough.
6. Add filling and form pierogi: Place a small amount of the filling in the middle of each round away from the edges (if the rounds are sticking to the work surface use a knife to help them come off but take care not to tear them). With tips of your fingers stick the edges of the dumpling together. Keep the pierogi on top of a floured surface covered with a kitchen cloth to prevent drying.
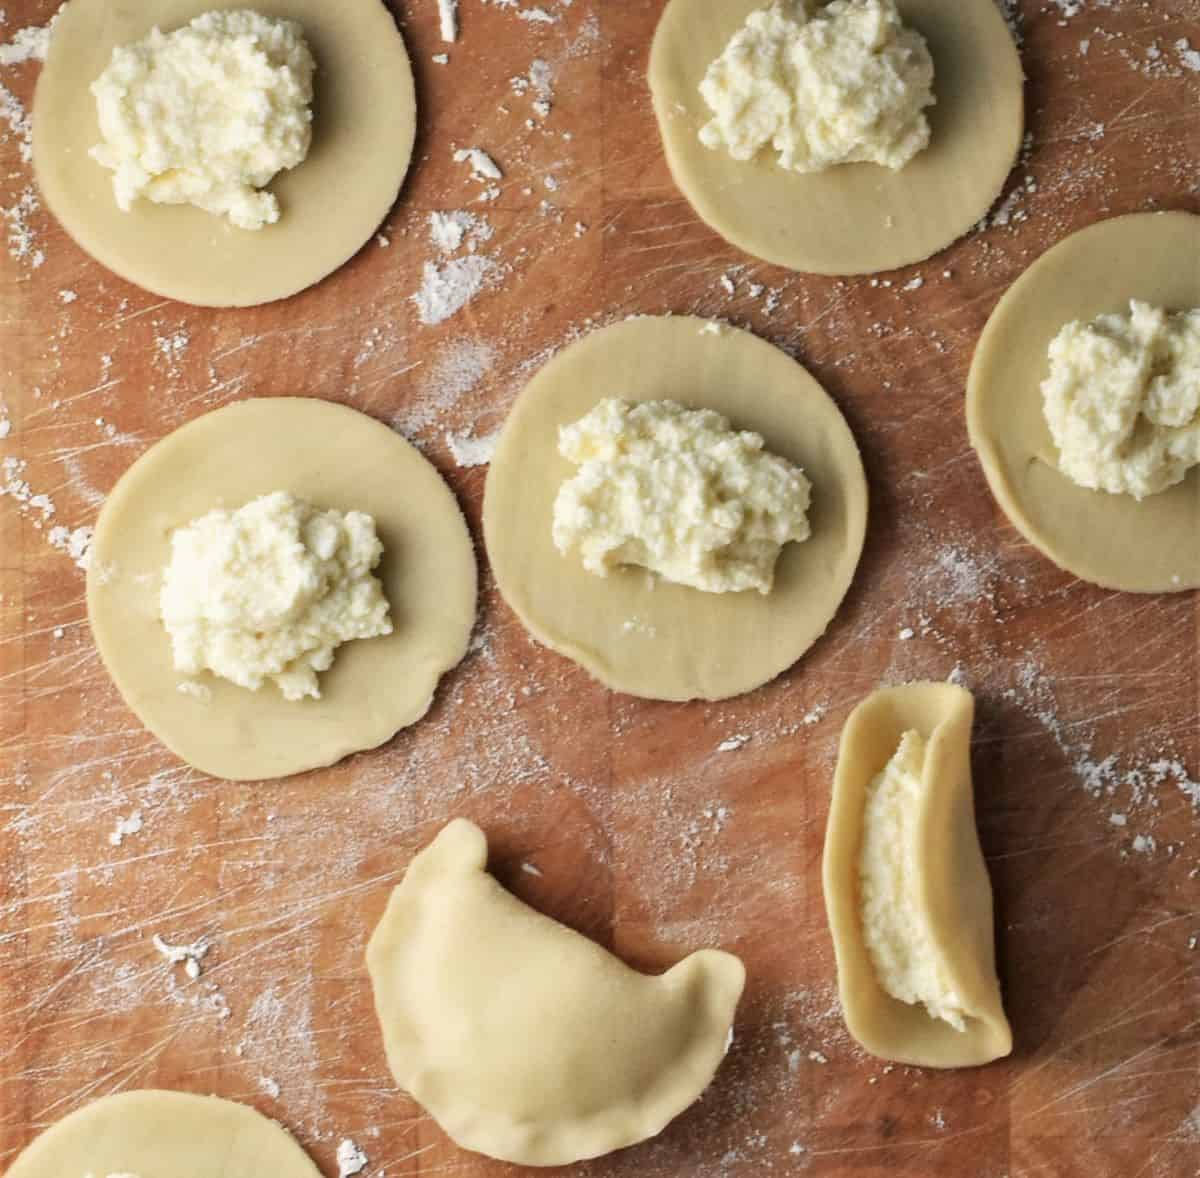
7. Boil: When the water starts to boil carefully add the pierogi one by one (not more than 15 per batch). Stir gently with a wooden spoon. Once all the pierogi have come up to the top cook gently for another 4 minutes.
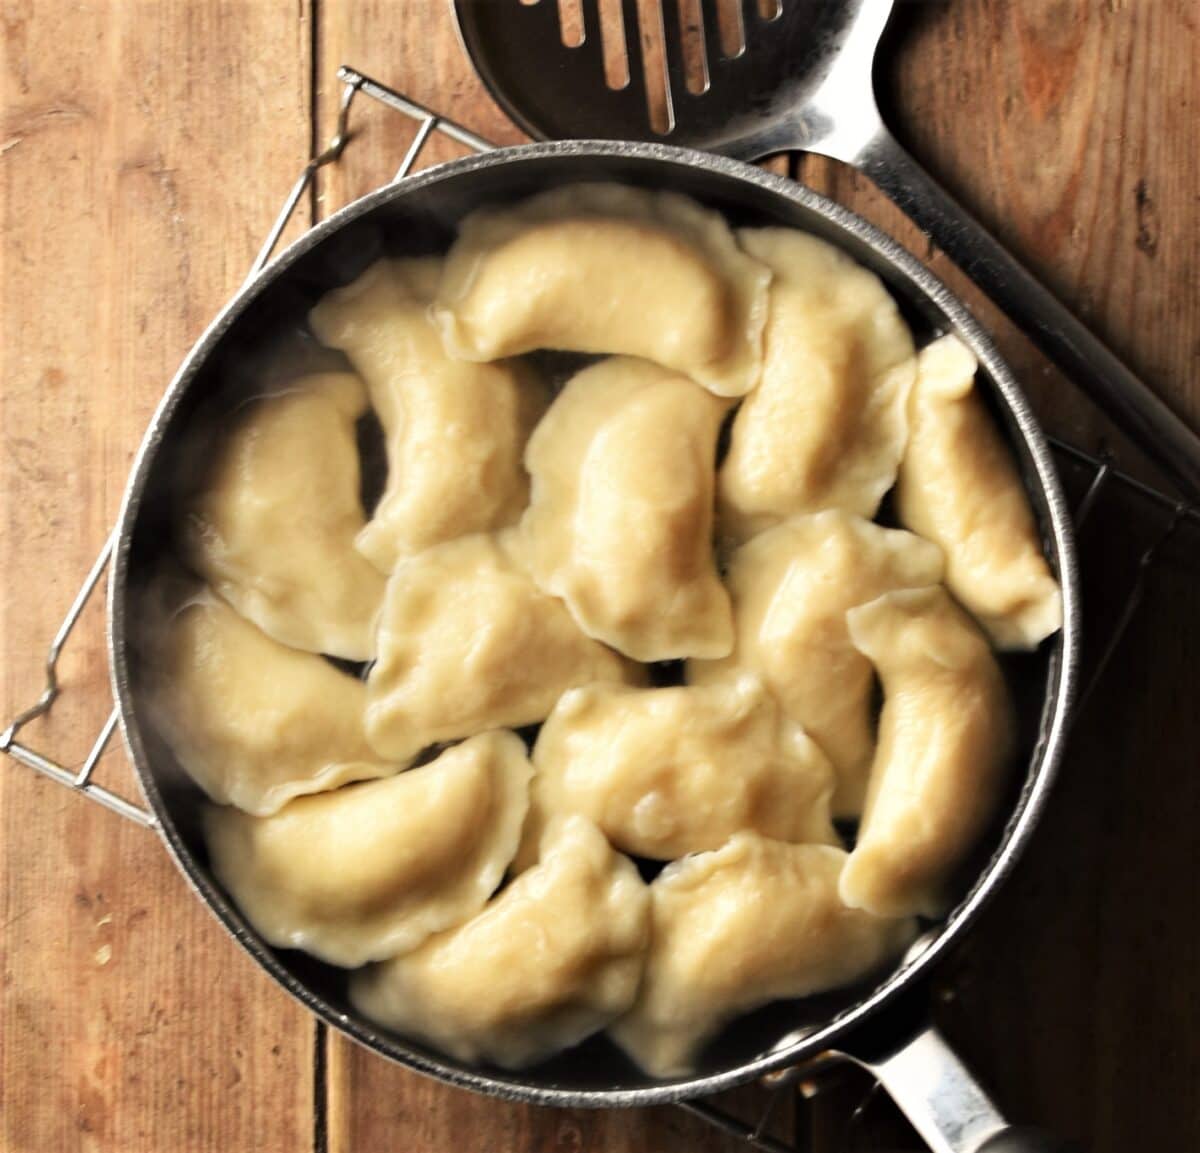
8. Remove from pot: Remove from the heat and pour a cup of cold water over the pierogi. Lift the pierogi out of the pot using a slotted spoon and place in a single layer on top of a lightly greased plate. Either serve immediately or fry as per serving suggestions below.
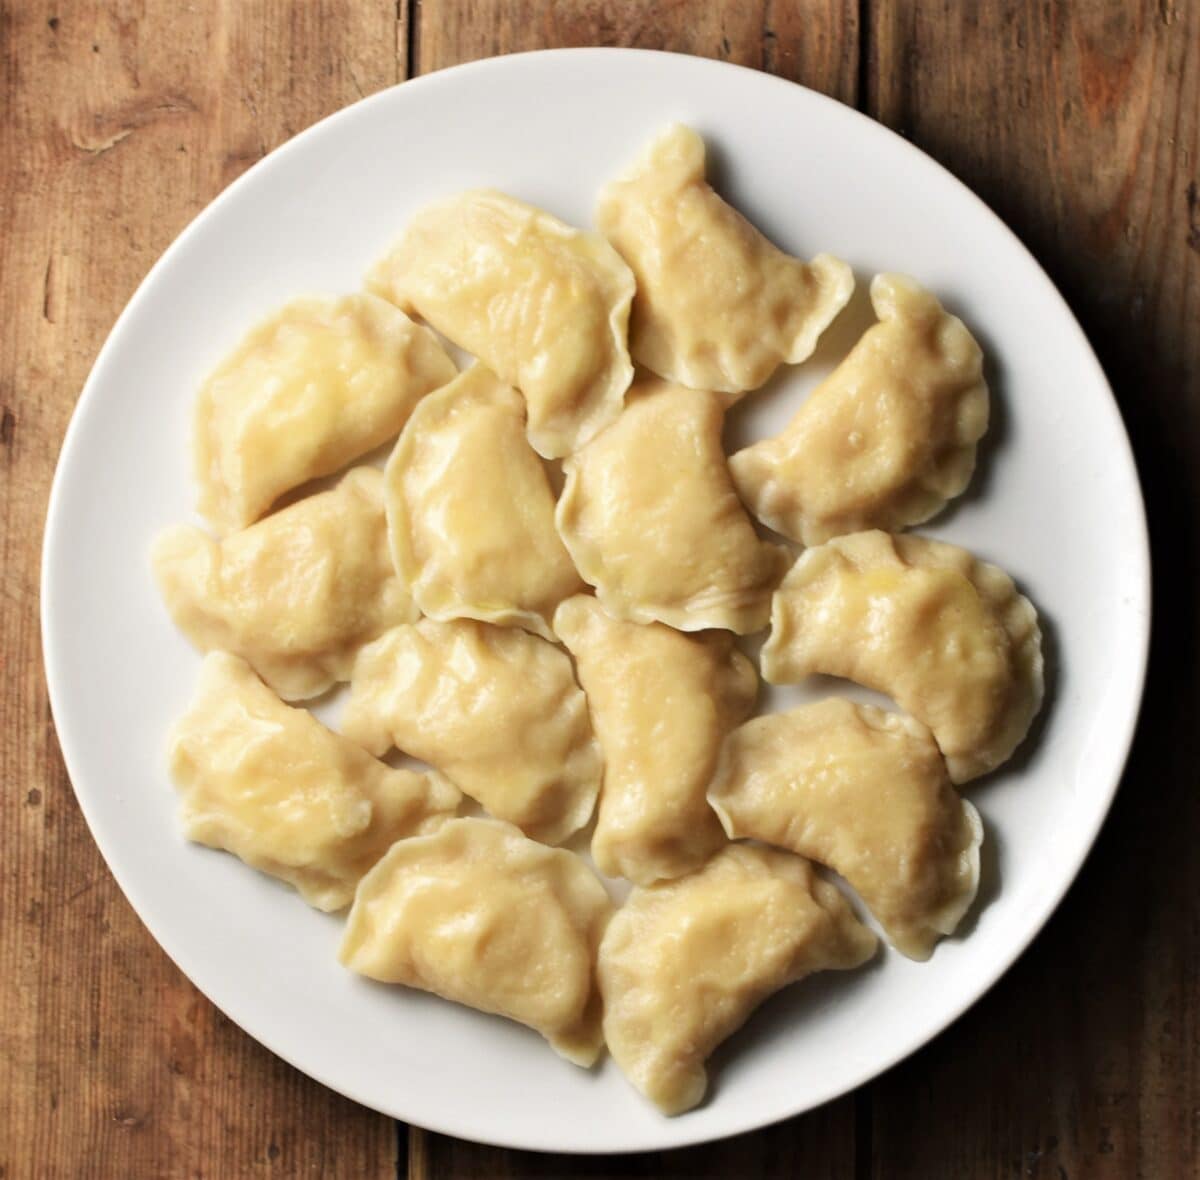
How to serve sweet pierogi
It’s not unusual to serve ‘sweet’ dishes as main meals in Poland and pierogi with sweet cheese are a good example of such a dish (as are blueberry pierogi). Despite the sweetness they are simply too filling to be dessert.
They should be served hot and ideally straight from the pot when they are soft (they harden as they cool). Traditional toppings include melted butter, sour cream or light/single cream and a sprinkling of sugar (I used demerara for more flavour). For a lighter version try them with yogurt instead. Sometimes fresh fruit is also added, but they are also delicious with fruit compote or fruit sauce.
As with virtually all pierogi recipes (excluding only fresh fruit pierogi) Polish farmers' cheese pierogi can also be fried in a little butter until golden before serving.
If you are a fan of pierogi try also savoury pierogi with potato and cheddar cheese as well as sauerkraut and meat pierogi.
What can I make ahead
You can prepare the pierogi dough a day ahead, wrap it tightly in cling film and refrigerate. Remove from the fridge an hour before making the recipe to bring back to room temperature.
You can also make the sweet cheese pierogi filling mixture ahead, cover and refrigerate overnight. Use chilled.
Variations
Some sweet pierogi recipes recommend adding Polish vanilla custard into the filling while others use just the cheese and sugar without the egg yolk. Some recipes give preference to the semolina over the starch and vice versa.
Top tips
- Remove excess moisture from the twarόg by wrapping a sheet of paper towel around it and pressing gently.
- If the consistency of the filling doesn’t seem firm enough add another teaspoon of semolina or cornflour (the mixture should still be a little moist but firm enough to work with).
- Keep a sheet of paper towel handy as you are making the pierogi to wipe your fingertips if they become sticky.
- Keep the pierogi covered with a cloth to prevent them from drying as you are waiting for the water to boil.
- Boil each batch as soon as you’ve made it.
- It is important to add salt into the pot of water or your pierogi might taste a little bland.
- Boil the pierogi in batches. Do not overcrowd the pot.
- Best served immediately.
- Pour a little melted butter over just cooked pierogi so they do not stick to one another.
- Storing and reheating: Leftover sweet cheese pierogi can be refrigerated (once cooled), covered for up to 3 days. Reheat in the microwave or fry in a little butter.
Freezing
- Cooked pierogi: coat in butter, place in an airtight container and freeze for up to 3 months. Defrost overnight in the fridge and either reheat in the microwave or fry.
- Uncooked pierogi: Arrange in a single layer on top of a flour dusted tray and place in the freezer for 3 hours then transfer the pierogi into a freezer bag and freeze for up to 3 months. Cook from frozen.
- Sweet cheese filling: place in an airtight container and freeze for up to 3 months. Defrost overnight in the fridge.
- Twarόg: you can also freeze any leftover twarόg for up to 3 months. Defrost overnight in the fridge.
Top tip
Do NOT freeze uncooked pierogi (or pierogi filling) if using previously frozen twarόg.
Other traditional Polish comfort foods to try
- Polish Lazy Pierogi (Leniwe)
- Authentic Polish Potato Dumplings
- Crispy Polish Potato Pancakes
- Polish Apple Pancakes (No yeast)
Why not check out ALL my authentic Polish recipes for more ideas!
Keep in touch!
If you make this Polish sweet cheese pierogi recipe I’d love to know what you thought. Let me know in the comments below, thanks:)
Follow me on Facebook, Instagram and Twitter for regular recipe updates! Or you could subscribe to this blog and receive all my latest recipes right into your mailbox!
Recipe

Polish Sweet Cheese Pierogi (z Serem)
Equipment
- Large bowl
- Rolling Pin
- Cookie cutter or glass diameter 7cm/3in
- Electric mixer or potato masher
- Large pot
- Slotted Spoon
Ingredients
For the dough
- 2 cups (250 g) all-purpose/plain flour
- ½ cup+2tsp (130 ml) very warm/hot water
- 1½ tablespoons vegetable oil
- ⅕ teaspoon fine sea salt
For the filling
- 8.8 ounces (250 g) Polish twarόg cheese see *Notes below
- 3 tablespoons confectioner's/icing sugar
- 1 egg yolk
- 1 teaspoon vanilla extract
- 3 teaspoons semolina
- 3 teaspoons cornstarch/UK cornflour
Instructions
- Combine dough ingredients: To a large bowl add the flour, salt, oil and gradually add the water stirring all the time to combine.
- Knead dough: When the dough starts coming together transfer it to a lightly floured surface and knead for about 6 minutes until silky smooth and soft. Cover with a bowl and set aside for 20 minutes.
- Make pierogi filling: Beat together all the filling ingredients just until the mixture starts becoming creamy and coming together (do not overbeat). Alternatively make the mixture using a potato masher. Fill a large pot with salted water (about ⅔), cover and bring to the boil.
- Roll out dough: Divide the dough into 2-3 parts (easier to work with). Roll out one part (keeping the others covered) on top of a lightly floured surface as thinly as possible, 2-3 mm in thickness.
- Cut out rounds: Using the rim of a glass with a diameter of about 7cm/3in, or cookie cutter, cut out round shapes. Gather up the dough scraps and combine with the remaining dough.
- Add filling and form pierogi: Place a small amount of the filling in the middle of each round away from the edges (if the rounds are sticking to the work surface use a knife to help them come off but take care not to tear them). With tips of your fingers stick the edges of the dumpling together. Keep the pierogi on top of a floured surface covered with a kitchen cloth to prevent drying.
- Boil: When the water starts to boil carefully add the pierogi one by one (not more than 15 per batch). Stir gently with a wooden spoon. Once all the pierogi have come up to the top cook gently for another 4 minutes.
- Remove from pot: Remove from the heat and pour a cup of cold water over the pierogi. Lift the pierogi out of the pot using a slotted spoon and place in a single layer on top of a lightly greased plate. Either serve immediately or fry as per serving suggestions below.
Notes
- *Remove excess moisture from the twarόg by wrapping a sheet of paper towel around it and pressing gently.
- If the consistency of the sweet pierogi filling doesn’t seem firm enough add another teaspoon of semolina or cornflour (the mixture should still be a little moist but firm enough to work with).
- Keep a sheet of paper towel handy as you are making the pierogi to wipe your fingertips if they become sticky.
- Keep the pierogi covered with a cloth to prevent them from drying as you are waiting for the water to boil.
- Boil each batch as soon as you’ve made it.
- It is important to add salt into the pot of water or your pierogi might taste a little bland.
- Boil the pierogi in batches. Do not overcrowd the pot.
- Pour a little melted butter over just cooked pierogi so they do not stick to one another.
- Best served immediately. Enjoy with melted butter, sprinkling of sugar and a dollop of sour cream.
- Storing and reheating: Leftover sweet cheese pierogi can be refrigerated (once cooled), covered for up to 3 days. Reheat in the microwave or fry in a little butter.
Nutrition
*Nutritional information is automatically generated and should be considered as an estimate.
**A note about baking: If using a fan-assisted oven refer to your appliance's instructions and adjust the temperature accordingly.





Leave a Reply